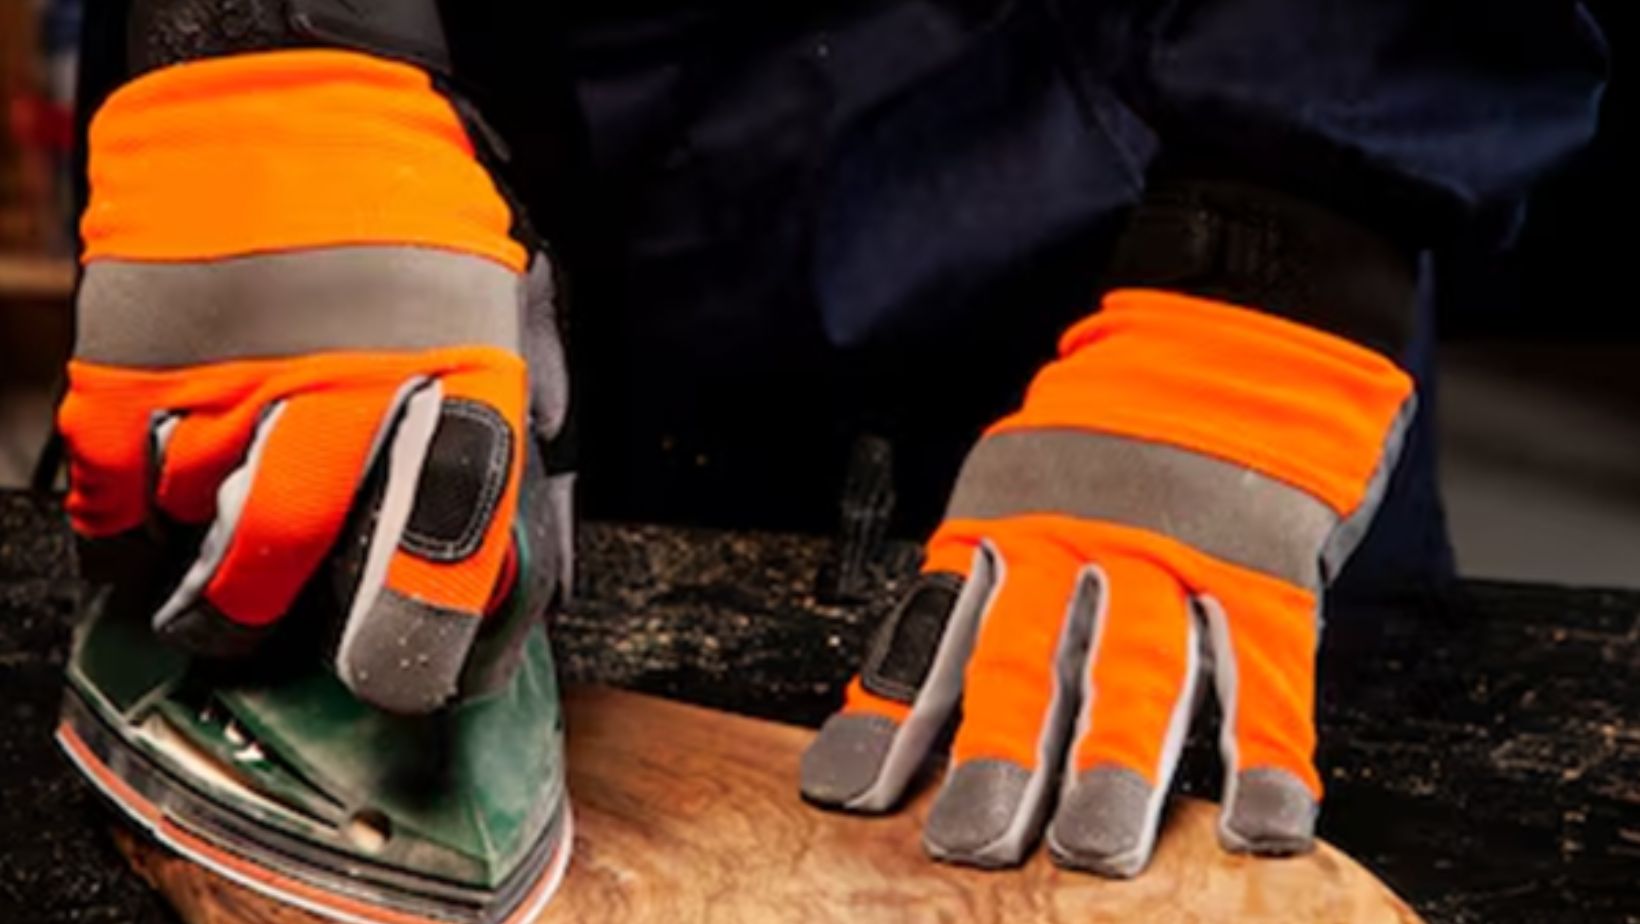
All gloves, be it commercial or residential, usually get dirty due to perspiration and contact with surfaces.
Besides, leather gloves are those used for multiple functions, comprising labor, sports, and fashion, and are subjected to wear and tear by prolonged exposure to water.
That said, cleaning must be performed diligently with a specific soap developed to protect the leather. Most significantly, the final step in cleaning is conditioning the leather to remain supple and resistant to water and grime.
Most smooth leathers (such as aniline and Nappa leather) will respond well to the cleaning procedure outlined below.
However, suede and nubuck leather, both with a rough, nappy finish, require a separate cleaning process. Read on to learn how to properly care for your work leather gloves.
Before getting started, let’s study what all you might require prior to
Equipment/Tools
- Microfiber cloths
- A small bowl or mixing cup.
- Absorbent towels
- Soft-bristled brush.
Material
- Saddle or castile soap
- Distilled white vinegar
- Leather conditioner
- Rubbing alcohol (isopropyl)
- Cotton swabs
- Baking soda
How to Clean Work Leather Gloves?
While you determine the prerequisites prior to purchasing leather work gloves, it’s ideal to understand how to clean and maintain them for extended use.
Let’s get started!
1. Pretreat Heavy Soil
In a small bowl or measuring cup, combine equal parts warm water and distilled white vinegar. Dampen a microfiber towel with the mixture and gently wipe down the discolored spots. Continue to move to a clean region of the fabric as the soil is transferred.
If your gloves contain mud splatters, let them dry before cleaning them up. Use a soft-bristled brush to remove it, and then treat any leftover stains.
2. Remove Ink Stains
To remove ink stains from leather, soak a cotton swab in isopropyl alcohol. Begin by lightly rubbing one end of the ink stain with the swab. Scrubbing might cause harm to the leather.
Once the ink has been transferred, discard the swab and replace it with a new one. Work slowly to keep the stain from spreading.
3. Prepare a Cleaning Solution
In a small dish, make a sudsy mixture of warm water and a light liquid soap, such as Castile or saddle soap. If you’re using a bar or gel soap in a tin, wet a microfiber cloth and massage it across the soap to make a lather.
4. Clean the Exterior of the Gloves
Place the gloves flat on an absorbent towel. Wipe the grime off the gloves with a soapy cloth, beginning at the wrist and working your way down to each fingertip. Make sure to clean well between each finger. Don’t oversaturate the leather; instead, focus on cleaning the surface.
Rinse the cloth frequently as soil is transferred, and reapply soap as necessary. Turn the gloves over and repeat on the opposite side.
5. Clean the Inside of the Gloves
If feasible, flip the gloves inside out and repeat the cleaning process. If the gloves are lined with faux fur or shearling, use a cloth soaked with a 50:50 mixture of distilled white vinegar and water to remove bacteria and odors.
6. Rinse the Gloves
Use a clean, damp microfiber cloth to “rinse” the gloves from both sides. Wipe away any sudsy residue, paying special attention to the seams and between the fingers. Rinse and wring the fabric thoroughly to avoid additional moisture as you work.
7. Air Dry the Gloves
Place the gloves, right side out, on a clean, absorbent towel and let them air dry in a cool, shady area. Check on them after an hour and place them in your hands to shape and stretch the leather. If the inside feels particularly damp, flip them inside out.
Wait another hour, then flip them right side out and reapply to ensure they dry smoothly. Most gloves dry completely in under eight hours.
8. Condition the Leather
Once the gloves have dried completely, apply a commercial leather conditioner to the exterior to keep them soft and supple. Follow the application instructions on the label.
As the old saying goes, if you take care of your gloves, they will take care of you.
How to Maintain Leather Gloves?
1. Avoid Prolonged Exposure to Severe Circumstances
If you want your gloves to last, you should keep extremes to a minimum. When it comes to leather gloves, the key to keeping them in good condition is to avoid drying out. Natural oils in leather preserve the fibers, thus a lack of them will eventually result in cracked or flaking gloves.
There are several reasons why leather gloves can dry out, but the most common include severe temperatures (hot or cold), UV exposure, and excessive water. You may pre-treat them with odorless fish oil, making them durable and water-resistant, ideal for lugging gear, chopping and transporting wood, and other camp tasks; however, keep them away from direct flames.
2. Ensure They’re Dry
Yes, this is included in the procedures for washing your gloves, but it is so crucial that it merits its section. Even if you haven’t washed your gloves, you must ensure the insides are fully dry after each use.
It’s no secret that sweaty hands are a byproduct of hard labor, but what some people may not realize is that if your gloves are not allowed to dry completely, extra moisture can cause glove rot (which no one wants).
So, if the insides of your gloves become wet, whether from rain or sweat, allow them to dry completely. Hanging them in the open with the accompanying aluminum carabiner allows air to circulate throughout the inside. If they are extremely saturated, flip them inside out or use a hairdryer on the lowest setting to expedite the process.
3. Store them Properly
When storing your gloves between uses, keep them cool, dry, and out of direct sunlight. This will keep the leather from deteriorating owing to any of the previously mentioned environmental causes.
In the end!
Even leather gloves that are rigorously utilized should be cleaned and conditioned regularly to keep the leather supple. Ultimately, leather work gloves can be damp-wiped with a vinegar/water solution after each use, but they should be thoroughly cleaned and conditioned every few months.